

Last Saturday at my local hardware store, I watched a guy spend twenty minutes agonizing over $45 skateboard wall mounts. He'd pick one up, read the back, put it down, pick up another. Finally, he turned to me and asked, "Do these things actually work?"
I told him I'd spent exactly $3.78 mounting my Renaissance skateboard collection, and his face said he thought I was lying. So I showed him photos on my phone—three boards hung with simple picture hangers that cost less than a coffee. He put the $45 mount back on the shelf.
The skateboard mount industry has convinced people they need specialized equipment to hang a seven-pound piece of wood on a wall. Its nonsense. You already have most of what you need in your junk drawer, and the rest costs pocket change at any hardware store.
After mounting dozens of boards using everything from dental floss (it worked!) to 3D-printed brackets, I've narrowed it down to five methods that actually work and cost almost nothing. Heres exactly how to do it.
Method #1: Command Strips (The Renter's Solution) - $6
Let me start with the method that gets the most skepticism but works better than you'd think: Command Strips. Yes, really. I've had Renaissance art decks hanging on Command Strips for eight months with zero issues.
According to The New York Times Wirecutter's guide to apartment-friendly storage, Command hooks can support surprising amounts of weight when used correctly—and that's the key phrase: "when used correctly." Most people screw this up.
What you'll need:
- Command Picture Hanging Strips (16 lb capacity) - $6 for 4 pairs
- Rubbing alcohol
- Clean cloth
- Level (optional but recommended)
Step-by-step process:
Clean your wall thoroughly with rubbing alcohol. This is non-negotiable. The number one reason Command Strips fail is dirty walls. I mean really clean—scrub it like you're preparing for surgery. Let it dry completely (wait 15 minutes minimum).
Stick one strip to the wall and one to your skateboard trucks (the metal parts). Make sure you're placing them where the trucks sit—this distributes weight properly. Press firmly for 30 seconds on both the wall and board.
Here's the crucial part everyone misses: wait one hour before hanging the board. I know the package says 30 minutes. Wait an hour anyway. The adhesive needs time to bond properly, especially if your wall has any texture.
When you hang the board, press it firmly against the wall for another 30 seconds. Done. Your board is now mounted without a single hole in the wall.
Real talk: This method works great for boards under 3 pounds (most standard skateboards). For heavier boards like my Girl with a Pearl Earring diptych, you'll want to use two sets of strips or choose a different method.
Cost: $6 for strips, $0 for everything else you probably already have
Time: 10 minutes active work + 1 hour waiting
Damage to wall: Zero
Best for: Renters, temporary displays, lightweight boards

Method #2: Picture Hangers (The $2 Classic) - $2
This is what I told the guy at the hardware store about. Standard picture hangers—the ones that come in packs of 10 for $2—work perfectly for skateboard mounting. This is literally how I mount most of my collection.
The secret is using two hangers per board positioned at the trucks. This creates a stable cradle that holds the board securely while looking completely invisible from the front.
What you'll need:
- 2 picture hangers (rated for 20+ lbs) - $2 for a 10-pack
- Small hammer
- Pencil
- Level
- Tape measure
Step-by-step process:
Measure your skateboard's truck width (the distance between the two truck mounts). For standard boards, this is usually 13-14 inches. Mark these measurements on your wall at your desired height.
I mount my boards at 60 inches from floor to center—the same height galleries use for art. This puts them at natural eye level. For more on placement psychology, check out my article on horizontal versus vertical display.
Hammer in your picture hangers at a slight upward angle. The hook should point up at about 45 degrees. This creates a secure cradle that prevents the board from sliding off.
Rest your board on the hangers so the trucks sit in the hooks. The wheels should face outward. If positioned correctly, the board should sit flush against the wall with no tilting.
Pro tip: If your board has a tendency to slide, add a small piece of non-slip shelf liner to the hook. This creates just enough friction to keep everything stable.
Cost: $2 (you'll have 8 hangers left over for future boards)
Time: 5 minutes per board
Damage to wall: Two small nail holes
Best for: Quick installations, multiple boards, anyone comfortable with a hammer
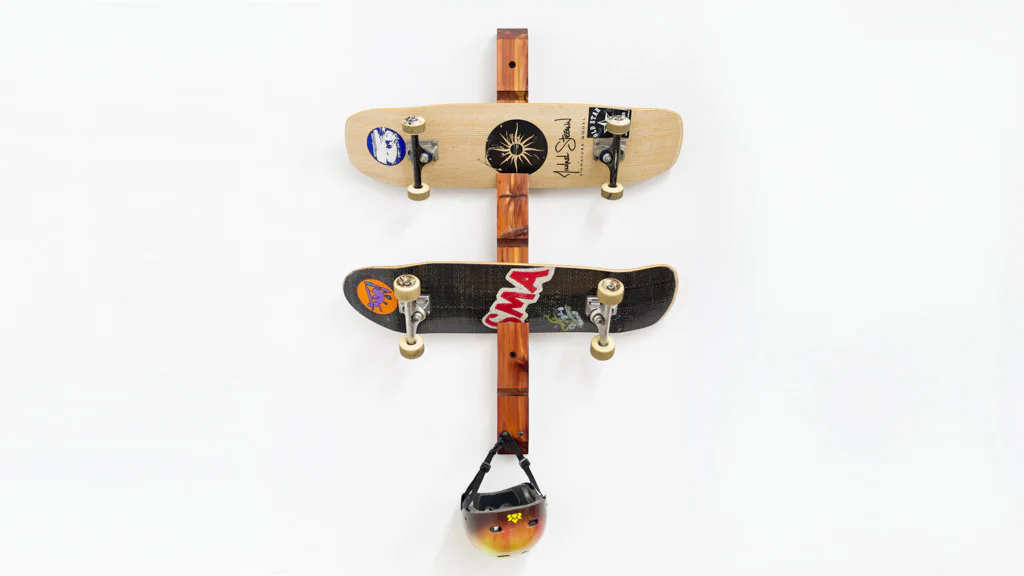
Method #3: Wood Bracket DIY (The Weekend Project) - $8
If you want something that looks more intentional than picture hangers, a simple wood bracket takes about an hour to make and costs less than $10. This is based on the excellent tutorial from Family Handyman's skateboard mount project, simplified down to the absolute essentials.
You dont need a full woodshop for this. A saw, drill, and sandpaper are enough.
What you'll need:
- 1x4 pine board (6 feet long) - $6
- Wood screws (1-1/4 inch) - $2
- Sandpaper (120 grit)
- Saw
- Drill
- Pencil
Step-by-step process:
Cut two pieces of 1x4 pine: one at 8 inches (the backplate) and one at 4 inches (the support arm). Sand all edges smooth—you dont want splinters near your Renaissance art.
Hold the 4-inch piece perpendicular to the 8-inch piece, creating an L-shape. The 4-inch piece should extend outward to support the skateboard deck. Pre-drill two holes through the backplate into the support arm.
Screw the pieces together using 1-1/4 inch wood screws. Make sure the connection is solid—this joint takes all the weight.
Mount the backplate to your wall using appropriate anchors. If you're mounting on studs, use 3-inch wood screws directly into the stud. If not, use drywall anchors rated for at least 30 pounds.
Rest your skateboard on the support arm. The deck should sit in the L-shaped cradle with the trucks hanging free. Adjust the angle of the support arm if needed—a slight upward tilt prevents sliding.
Optional upgrades: Stain or paint the wood to match your decor. Add felt pads to the support arm to prevent graphic scratching. Round the edges with a router if you have one.
I made four of these brackets for my Renaissance skateboard collection, stained them dark walnut, and they look like $50 custom mounts. Total cost: $32 for all four.
Cost: $8 for materials
Time: 1 hour for your first one, 30 minutes after that
Damage to wall: 2-4 holes depending on mounting method
Best for: People who enjoy basic woodworking, permanent installations, custom aesthetics
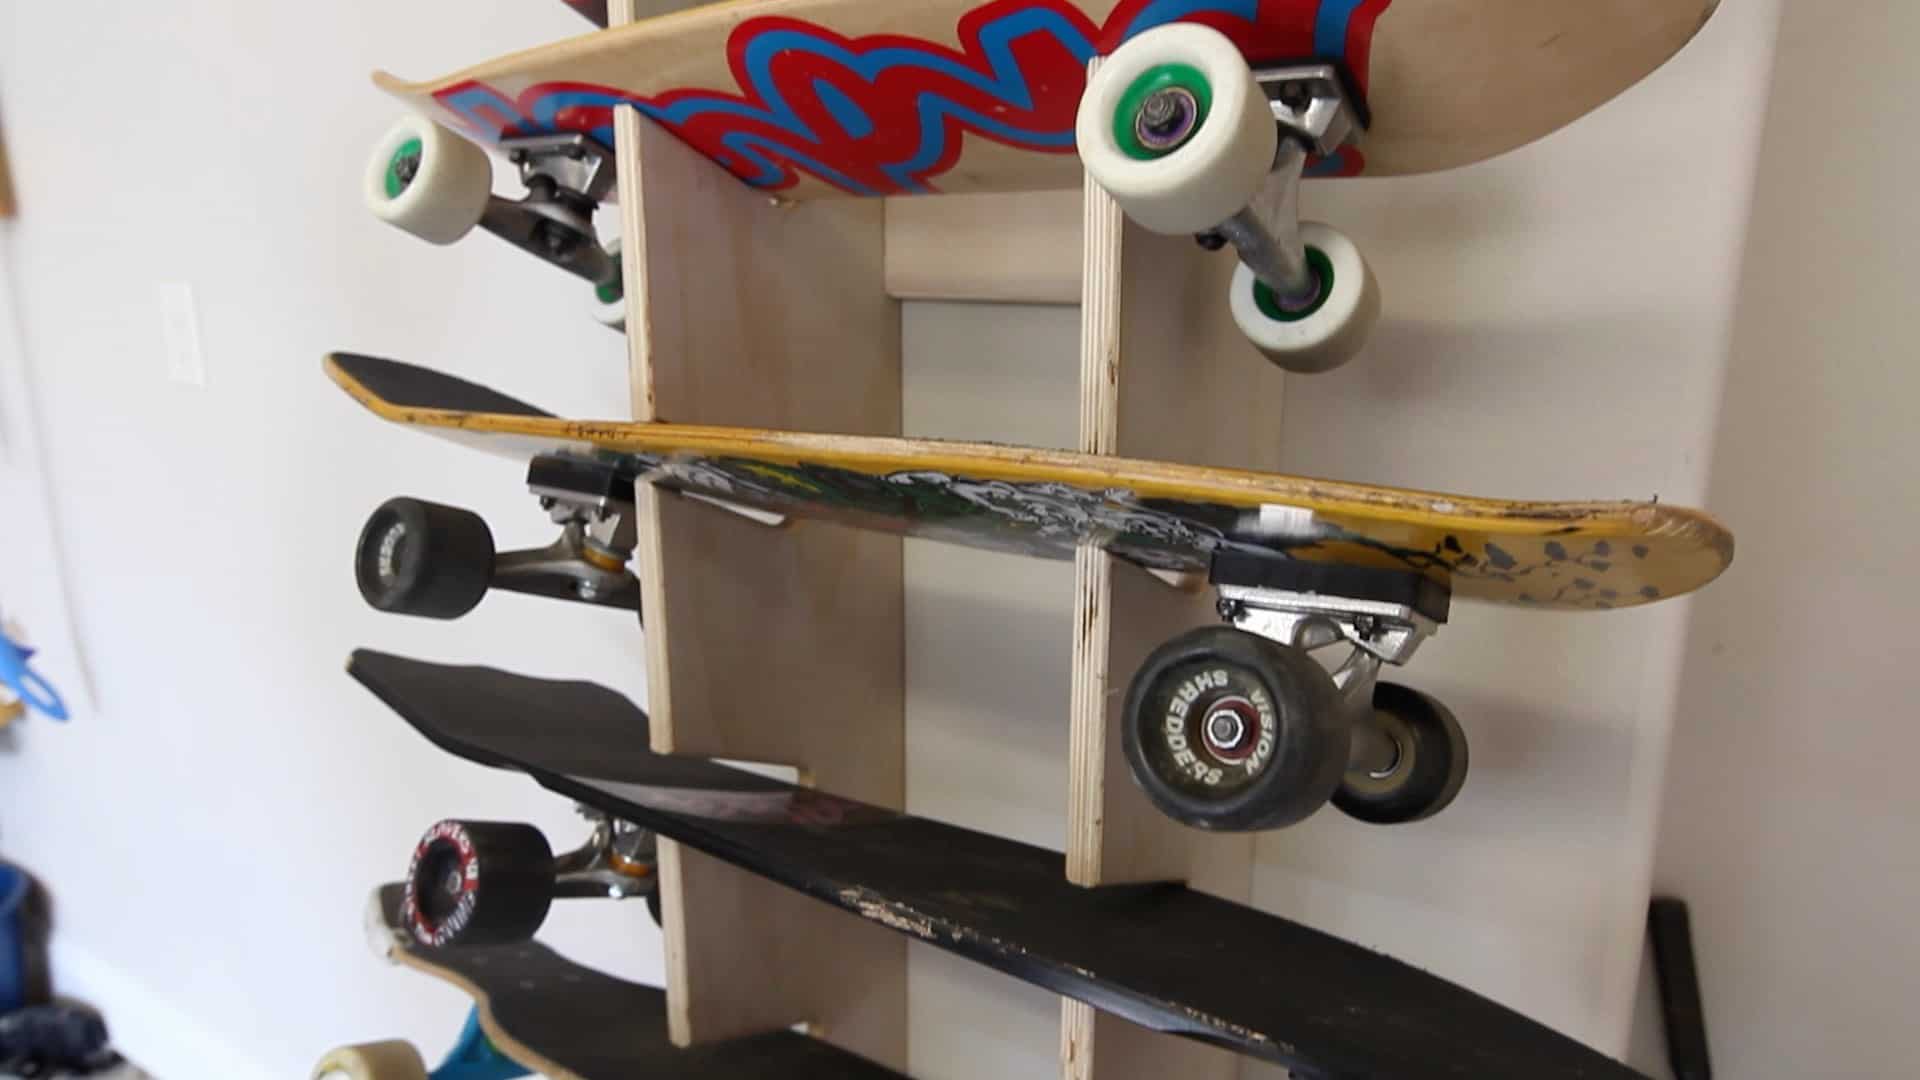
Method #4: PVC Pipe Rack (The Garage Solution) - $7
This method is brilliant for displaying multiple boards in a garage or studio where aesthetics matter less than functionality. PVC pipe creates a sturdy, customizable rack system that can hold as many boards as you want.
What you'll need:
- 1/2" PVC pipe (10 feet) - $3
- 4x PVC end caps - $2
- 2x PVC T-connectors - $2
- PVC pipe cutter or hacksaw
- Wall anchors and screws
Step-by-step process:
Cut your PVC into these lengths: two pieces at 4 inches (vertical supports), two pieces at 8 inches (horizontal arms), and one piece at 24 inches (main horizontal beam). Adjust the 24-inch piece based on how many boards you're mounting—add 8 inches per additional board.
Assemble the frame: Connect the 4-inch vertical pieces to the T-connectors, then attach the 8-inch horizontal arms to the T-connectors. Finally, connect the 24-inch horizontal beam between the vertical supports. Add end caps to all exposed pipe ends.
The result looks like a horizontal ladder with arms sticking out. Mount this frame to your wall using screws through the back of the horizontal beam.
Your skateboards rest on the 8-inch arms, with the trucks sitting in the space between the arms. For three boards, space the arms about 14 inches apart.
Why this works: PVC is incredibly strong for its weight and cost. The smooth surface wont damage your board graphics. The modular design means you can expand it later by adding more arms.
I've seen variations of this in skate shops where they're displaying 15+ boards on a single PVC system. It's not pretty, but it's bulletproof.
Cost: $7 for a three-board system
Time: 45 minutes to cut and assemble
Damage to wall: 4-6 screw holes
Best for: Garages, workshops, multiple board storage, utility over aesthetics
Method #5: Rope and Screw Eyes (The Minimalist Trick) - $4
This is the method I use for my rotating display boards—the ones I swap out frequently. Its ridiculously simple, costs almost nothing, and looks surprisingly intentional if you use nice rope.
What you'll need:
- 2x screw eye hooks (rated for 20+ lbs) - $2
- 6 feet of 1/4" rope or cord - $2
- Scissors
Step-by-step process:
Install two screw eye hooks in your wall at the width of your skateboard trucks (usually 13-14 inches apart). Screw them in completely—these need to be solid. If you're not hitting a stud, use appropriate drywall anchors first.
Thread your rope through both screw eyes, creating a horizontal line. Tie off the ends so the rope is taut. The rope should sit at about chest height—roughly 50-55 inches from the floor.
Hang your skateboard by resting the trucks on the rope. The rope sits in the gap between the truck and the deck, holding everything securely.
The rope creates enough friction to keep the board in place, but you can remove it in seconds when you want to swap boards. I use this method for my monthly rotation where I feature different Renaissance art pieces from the collection.
Aesthetic upgrade: Use waxed canvas cord or leather lacing instead of standard rope. It costs a few dollars more but looks exponentially better. Black leather cord against a white wall with a Caravaggio skateboard creates a really striking look.
Cost: $4 for basic rope, $8-10 for nicer cord
Time: 15 minutes
Damage to wall: 2 small holes
Best for: Frequently rotated displays, minimalist aesthetics, temporary setups
Common Mistakes That Ruin DIY Mounts
Mistake #1: Skipping wall prep
Whatever method you choose, clean your wall first. Dust, grease, and texture all reduce adhesive grip or make screws less secure. Five minutes of cleaning prevents hours of remounting.
Mistake #2: Using inadequate anchors
Those plastic anchors that come with picture frames? Trash them. Buy proper drywall anchors rated for 30+ pounds. Your skateboard weighs 2-3 pounds, but dynamic load (when someone bumps it) can triple that force. Over-engineer this part.
Mistake #3: Ignoring truck positioning
Your mounting points need to align with the trucks, not the center of the deck. The trucks are the strongest part of the board, and mounting there distributes weight properly. Center-mounting creates stress on the deck itself.
Mistake #4: Mounting too high or too low
I see boards mounted at weird heights constantly. Use the gallery standard: center of the board at 60 inches from floor. This is eye level for most people and makes your boards look intentional rather than randomly placed.
Mistake #5: Forgetting about lighting
Even the best DIY mount looks mediocre in bad lighting. Add some simple LED picture lights or track lighting. I detailed this in my skateboard lighting guide, but the short version: good lighting makes budget mounts look premium.
Which Method Should You Actually Use?
After testing all five extensively, heres my honest recommendation based on your situation:
If you're a renter: Start with Command Strips (Method #1). They work better than you think, and you get your security deposit back. If you need something more robust, use the rope method (Method #5) with removable screw eyes.
If you own your home: Picture hangers (Method #2) are the sweet spot of simplicity, cost, and appearance. Make four tiny holes and you're done. If you enjoy a quick woodworking project, the wood bracket method (Method #3) looks more polished.
If you're displaying 5+ boards: The PVC rack (Method #4) is your answer. Scale it to whatever size you need. It's not beautiful, but it works perfectly for large collections.
If you rotate your display frequently: The rope method (Method #5) makes swapping boards effortless. I change my living room display monthly, and this system lets me do it in under a minute.
If you want it to look professional: Wood brackets (Method #3) with a nice stain or the rope method with leather cord both look like you spent money. Total cost: under $10.
My Current Setup (Mix and Match)
I dont use just one method—I use different systems for different spaces:
Living room: Wood brackets stained dark walnut for my primary display of three Renaissance boards. Looks like custom millwork. Cost: $24 for three mounts.
Bedroom: Rope method with black leather cord for my rotating monthly feature board. Minimalist and easy to swap. Cost: $8.
Home office: Picture hangers for two boards that rarely change. Invisible hardware, maximum simplicity. Cost: $2.
Hallway: Command Strips for my "experimental" spot where I test new boards before committing to the main display. Zero holes, maximum flexibility. Cost: $6.
Total investment for mounting 7 boards across four rooms: $40. Compare that to commercial skateboard mounts at $30-50 each (that's $210-350 for the same setup), and I saved over $170 while creating something that looks better.
The Guy From the Hardware Store
I ran into the hardware store guy again three weeks later. He showed me photos of his setup—he'd gone with the wood bracket method, added some nice stain, and mounted four boards in his game room.
"I spent twelve dollars total," he said, "and everyone who comes over asks where I bought the custom mounts."
That's exactly the point. DIY skateboard mounting isnt about being cheap (though saving $40+ per board is nice). It's about recognizing that mounting a skateboard is a fundamentally simple task that doesnt require specialized equipment.
You're hanging a seven-pound piece of wood on a wall. Picture hangers have been doing this job for a century. Command Strips can hold ten pounds. A scrap of pine and two screws create a shelf. This isnt rocket science.
The skateboard mount industry exists because people assume mounting boards is complicated. It's not. Pick one of these five methods, spend an hour and less than $10, and you'll have a mounting system that works as well as (or better than) anything you can buy commercially.
Start simple, see what works in your space, adjust as needed. That's the beauty of DIY—you can experiment without spending serious money.
And if you see someone agonizing over expensive mounts at the hardware store, maybe show them this article. Or at least tell them about the picture hanger method. Save them forty bucks and an hour of indecision.
For more detailed guidance on displaying your skateboard collection, check out our complete guide to skateboard room ideas where we explore different mounting combinations for every type of space.
About the Author
Stanislav Arnautov is the founder of DeckArts and a creative director originally from Ukraine, now based in Berlin. With extensive experience in branding, merchandise design, and vector graphics, Stanislav has worked with Ukrainian streetwear brands and organized art events for Red Bull Ukraine. He combines his passion for Renaissance art with skateboard culture, exploring how classical masterpieces can transform modern spaces through thoughtful interior design. Connect with him on Instagram or visit his personal website. Follow DeckArts on Instagram or shop the collection at DeckArts.com.