Two hundred and seventy euros. That's how much my landlord wanted to charge me for "wall restoration" after I mounted one - ONE - skateboard deck using regular screws last year. The security deposit deduction letter arrived three days after I moved out of that Munich apartment, complete with photos showing what she called "irreparable damage to historic plaster walls." The holes were maybe 3mm wide. I could've covered them with toothpaste, you know?
That expensive lesson taught me something crucial about displaying skateboard art: in Europe especially, landlords treat wall holes like you just graffitied the Sistine Chapel. And honestly? Even if you own your place, why mess up perfectly good walls when there are better methods that let you rearrange your collection whenever you want without calling a contractor?
Since moving to Berlin four years ago and starting DeckArts, I've tested basically every wall-hanging method that claims to be "damage-free." Some worked brilliantly. Some were complete disasters (ask me about the Command strip failure that resulted in a 3 AM crash and a very angry cat). And some methods work perfectly... but only if you follow the instructions exactly, which - let's be real - most people don't.
So here's everything I've learned about hanging skateboard art without destroying your walls, losing your deposit, or paying €270 for three tiny holes.
Why Skateboard Decks Are Trickier Than Regular Art
Before we dive into methods, let's talk about why you can't just treat skateboard decks like picture frames. Our Girl with a Pearl Earring duo weighs about 4.5 pounds - not super heavy, but heavier than most framed photos. Plus the weight distributes differently because of the deck's curved shape and length (usually 31-33 inches).
The New York Times Wirecutter recently did an in-depth guide on Command strips, and their expert Michael Fussy (3M Command Brand application engineer) makes a crucial point about weight distribution: "Strips should be applied at the top corners and in the middle of frames to ensure proper hanging."
For skateboard decks, this gets tricky because of the concave shape. You're not working with a flat surface, which means adhesive products need more surface contact area than they would for a regular frame. That's actually why my first Command strip attempt failed - I just stuck two strips on the back like it was a poster, and gravity said "nah."
Method 1: Heavy-Duty Adhesive Strips (The Renter's Best Friend)
Okay, so everyone's heard of Command strips. But here's what most people don't know - there are like fifteen different types, and using the wrong one for skateboard decks is why people think they don't work.
According to the Wirecutter article, the most common mistakes are: not pressing long enough, not waiting an hour before hanging, and not cleaning the wall first with rubbing alcohol. That last one is huge. "Dab rubbing alcohol on a cloth and use it to wipe away any dust, debris, or oils," they recommend. Other cleaners leave residue that prevents proper adhesion.
For skateboard decks specifically, here's my system:
- Use Large Picture Hanging Strips (rated for 16 pounds per set of 4 pairs)
- Clean both wall and deck back with 70% rubbing alcohol
- Apply 4-6 pairs minimum - two at the top, two in the middle, two near the bottom
- Press HARD for 30 seconds on each strip
- Wait a full hour before hanging (yes, really wait)
The key is distributing strips along the entire length of the deck, not just clustering them in one spot. I've had Bouguereau Amor & Psyche duos hanging for 18 months using this method with zero issues.
Pros: Truly damage-free removal if done correctly, relatively cheap, works on most painted walls
Cons: Doesn't work on textured walls, wallpaper, or freshly painted surfaces (wait 7 days minimum), can't be reused
Cost: €8-15 for a pack that'll hang 2-3 decks

Method 2: Specialized Skateboard Wall Mounts (The Professional Look)
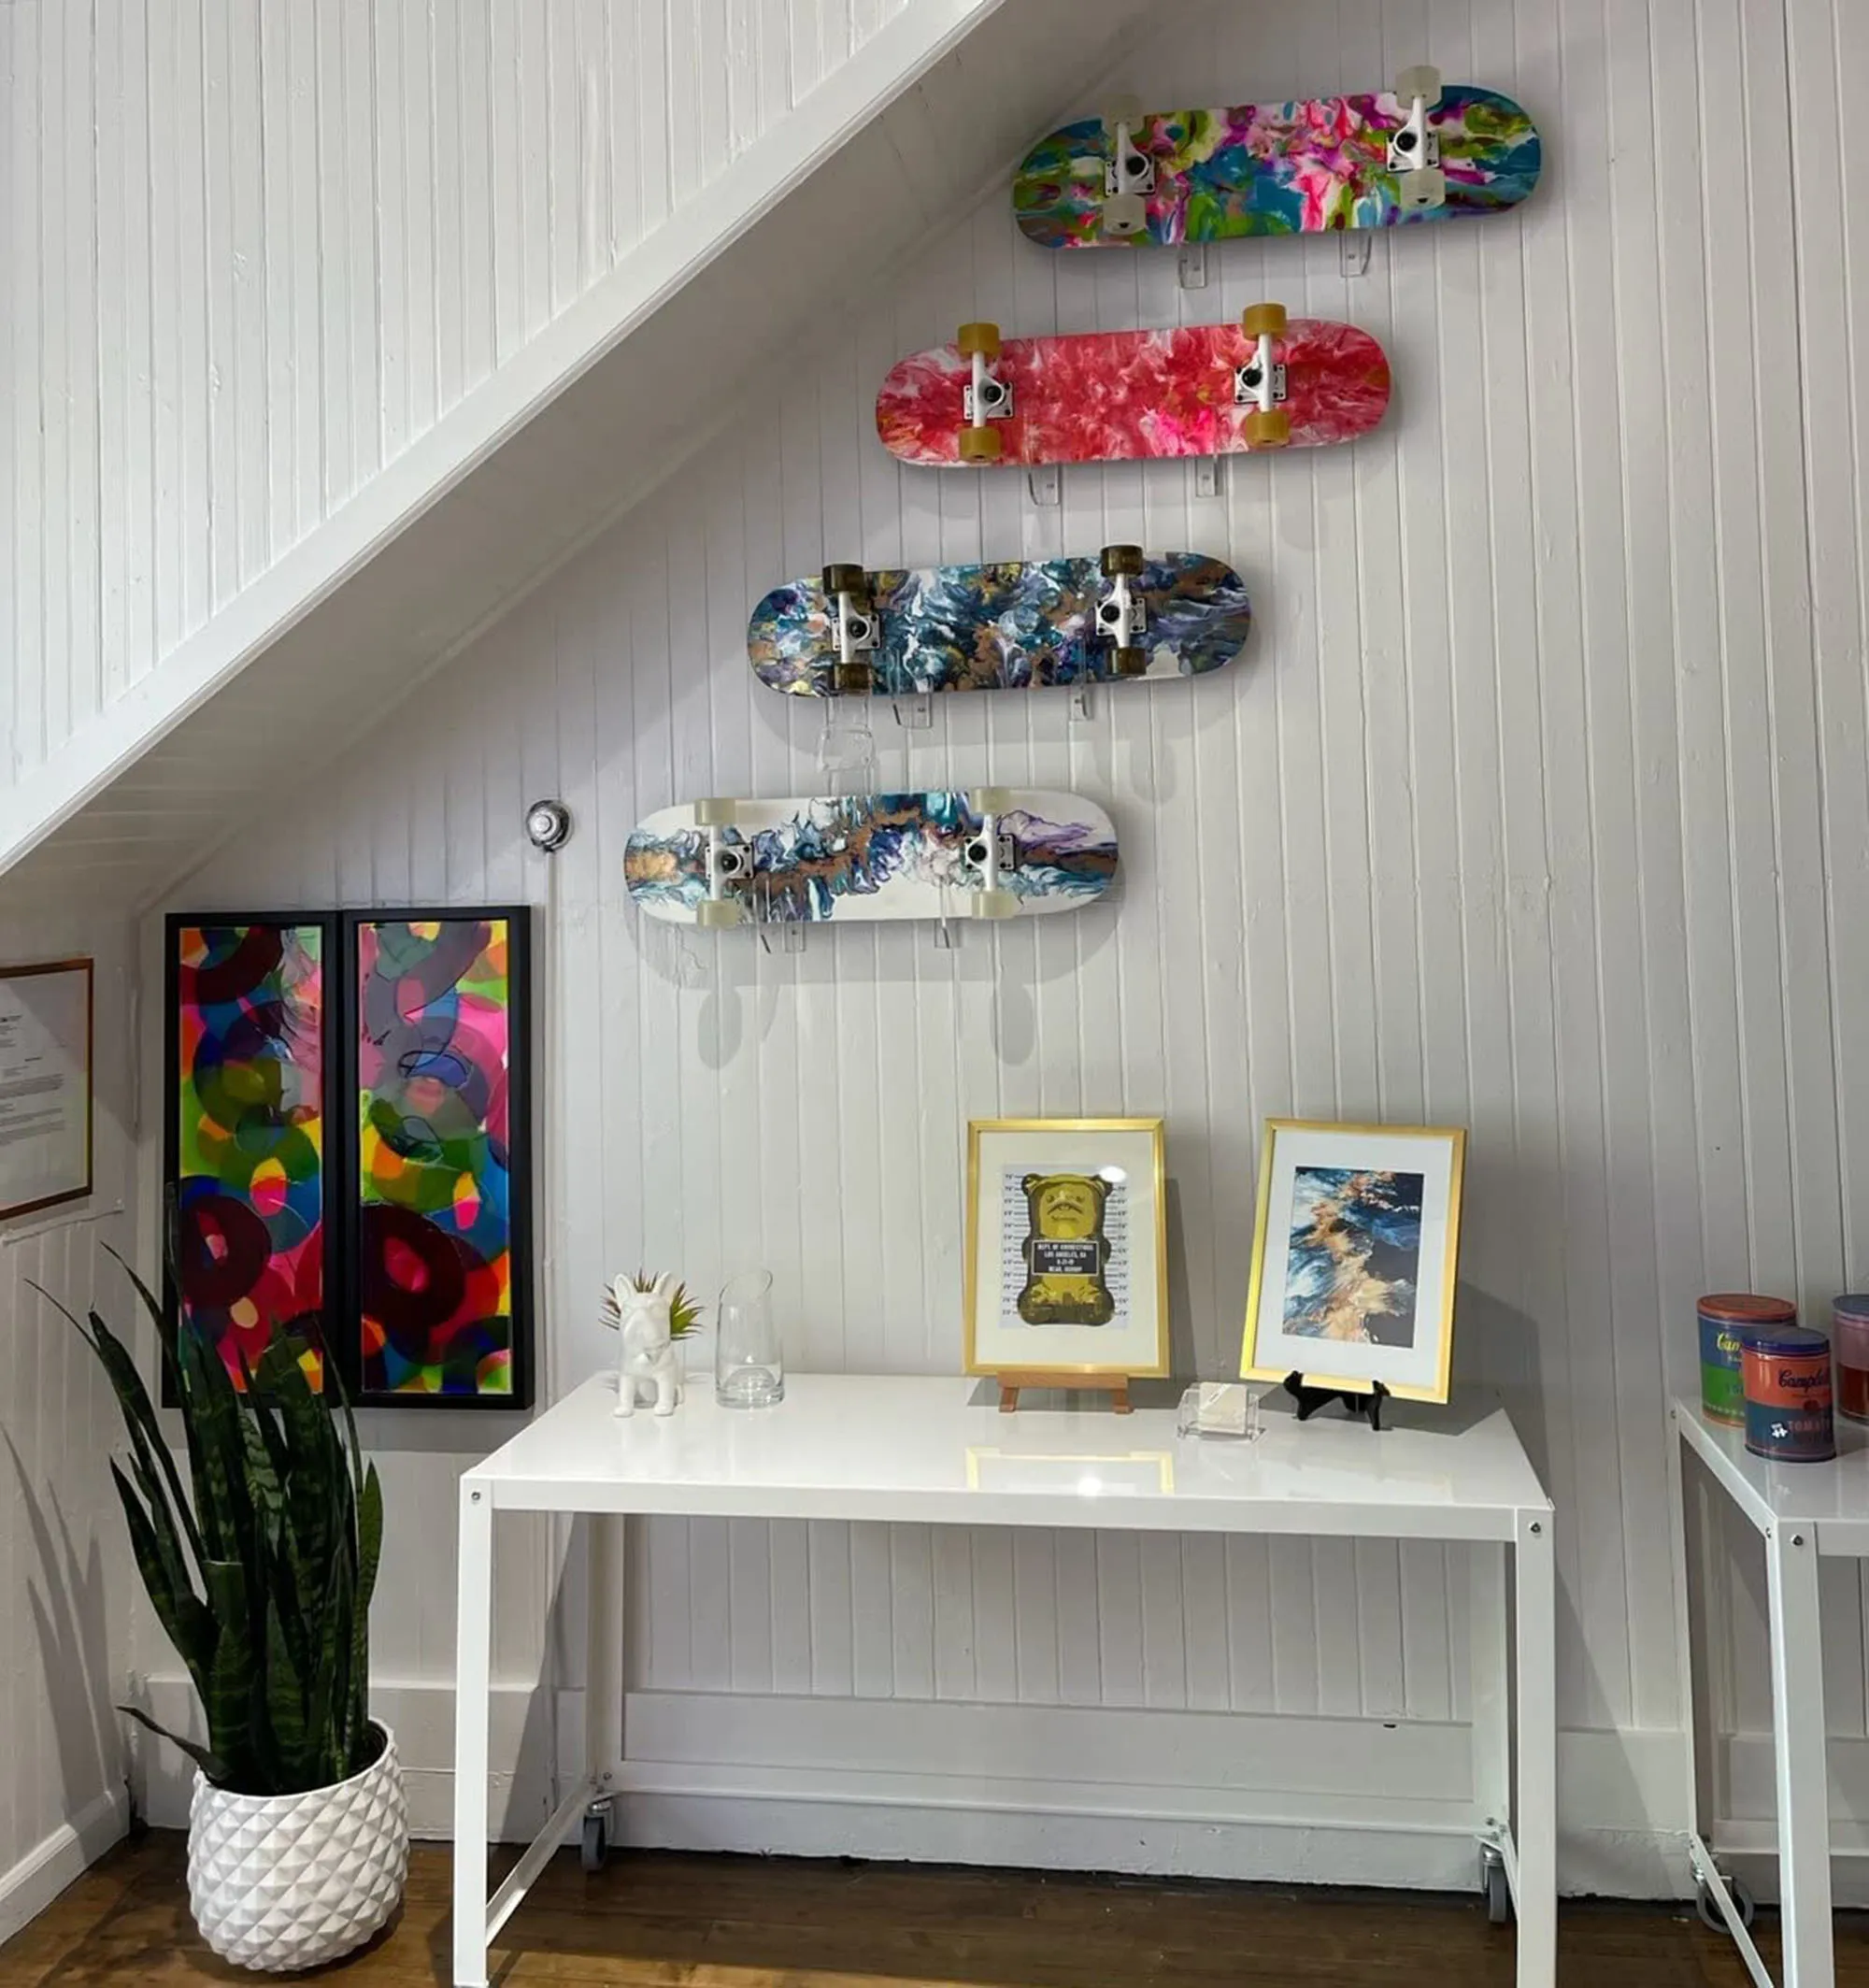
After my adhesive strip experiments, I discovered these specialized acrylic or metal skateboard mounts that are designed specifically for deck display. They're basically L-shaped brackets - the bottom supports the deck's tail, and the top has a small lip that holds the deck in place.
The genius of these mounts is they only require 1-2 small screws per bracket, and you can position them behind the deck so they're basically invisible. Some versions are completely clear acrylic, so even if they're visible, they look intentional and clean.
Here's the trick though - you drill the pilot holes, insert plastic anchors, then add felt pads to the screw heads before tightening. This way, when you move out, you just remove the screws, fill the tiny holes with a bit of spackle (or even white toothpaste - shh, don't tell landlords), and paint over. The holes are so small that with proper filling, they're genuinely invisible.
I use this method in my Berlin studio for rotating displays. The mounts stay permanently installed, but I can swap which decks are displayed in like 30 seconds. For collectors who like changing their gallery walls frequently, this is perfect.
Pros: Super secure, professional look, invisible mounting, easy to swap decks
Cons: Requires small holes (but easily filled), initial installation takes time
Cost: €15-30 for a pair of quality mounts
Method 3: Picture Rail Systems (The European Classic)
Architectural Digest featured this method in their guide to hanging art without wall damage, and interior designer Megan Pflug explains: "Originally, picture rails were designed for use on plaster walls so that you did not have to damage your wall (or wall coverings) to hang artwork."
Picture rails are horizontal molding installed 12-20 inches below the ceiling. You hang everything from cables or rods attached to this rail, so after the initial rail installation, you never touch your walls again. "I love to switch things around," Pflug says. "With a few gallery rods, I can rearrange my art with no regret."
For skateboard decks, you'd use clear fishing line or thin steel cables attached to S-hooks on the rail, then loop them around the trucks or through mounting holes you drill in the deck's tail. The deck hangs vertically, creating this floating effect that looks really sophisticated.
This method is huge in older European buildings where landlords actually appreciate picture rails as "period-appropriate" architectural details. My previous landlord in Kreuzberg even helped me install one because it "restored historic character."
Pros: Zero wall damage after installation, unlimited rearranging, looks elegant, landlord-approved in historic buildings
Cons: Initial rail installation requires drilling into ceiling area, works best with higher ceilings
Cost: €40-80 for rail kit plus cables
Method 4: Brick Clips (For Exposed Brick Walls)
If you're lucky enough to have exposed brick - super common in converted lofts and industrial spaces - Architectural Digest recommends brick clamps that literally just clip onto the brick face where it extends past the mortar.
"Snap the clip right onto the brick face and that's it," they explain. These clips can hold up to 25 pounds and cost like €8. For skateboard decks, you'd use two clips - one near the top, one near the middle - with the deck resting vertically against the wall.
The catch is your grout needs to be recessed so the bricks protrude slightly. If your brick wall is painted or the mortar is flush with the brick surface, the clips won't grip properly. In that case, skip to adhesive methods instead.
Pros: Completely damage-free, very secure, cheap, easy installation
Cons: Only works on specific brick configurations, limited positioning options
Cost: €8-15 for a pair

Method 5: Tension Rods (The Temporary Solution)
This is a method I stumbled on accidentally when setting up for a pop-up exhibition in Hamburg. We couldn't drill into the gallery walls, so we used ceiling-height tension rods (like shower curtain rods but floor-to-ceiling) positioned about 6 inches from the wall.
You lean skateboard decks against these rods, and they stay in place through friction and gravity. For a cleaner look, wrap the rods in black fabric or paint them to match your wall. You can also add small clear adhesive bumpers on the deck's nose to prevent wall contact if you're paranoid about scuff marks.
This works surprisingly well for temporary displays or if you're in a short-term rental where even adhesive strips feel like too much commitment. The tension rods leave zero damage - you just twist to release pressure and remove them.
Pros: Absolutely zero wall damage, great for temporary displays, can hold multiple decks per rod
Cons: Takes up floor space, not as secure as other methods, visible hardware
Cost: €20-40 per rod
Method 6: Leaning Against Wall with Support (The Casual Look)
Sometimes the simplest method is just... leaning your decks against the wall. But to do it right and keep them secure, you need a bit of strategy. I learned this from my skateboard art lighting article research - proper display isn't just about mounting, it's about creating intentional compositions.
For the leaning method:
- Use small clear rubber bumpers (like furniture pads) on the deck's tail to prevent slipping
- Lean the deck at about 75-80 degrees - not vertical, not too angled
- Place heavier objects like books or small planters at the base to prevent sliding
- For multiple decks, overlap them slightly in a layered arrangement
This works perfectly on mantelpieces, shelves, or even the floor along a wall. It's not suitable for high-traffic areas where someone might bump into the decks, but for a bedroom or office? It creates this relaxed, curator-approved aesthetic.
Pros: Zero installation, zero damage, easy to rearrange, casual sophisticated vibe
Cons: Not secure, takes up surface space, not suitable for high-traffic areas
Cost: €2-5 for rubber bumpers
Method 7: Removable Wall Hooks (The Middle Ground)
There's a category of hooks called "monkey hooks" or "self-hanging hooks" that puncture drywall without needing anchors or studs. They leave holes smaller than a pencil eraser - tiny enough that you can fill them with spackle in literally 30 seconds when moving out.
The New York Times Wirecutter article mentions that art handlers Christopher Kaiser-Schatzlein prefers Ook Professional Picture Hangers: "They're easier to pull out, and they just leave these pinholes behind. You can barely see them."
For skateboard decks, you'd install two hooks at different heights, then hang the deck using thin picture wire or clear fishing line attached to the trucks. The hooks themselves are rated for surprisingly heavy weights - some up to 50 pounds - but I recommend staying under 20 pounds to be safe.
The key advantage over regular nails is the hole size. Nails leave 2-3mm holes that are obvious. These hooks leave 0.5-1mm holes that disappear with minimal spackling. In four years of Berlin apartment living, I've used this method in three different rentals and never had a landlord notice or complain.
Pros: Very small holes, strong hold, works on drywall/plasterboard, cheap
Cons: Still technically makes holes (though tiny), requires removing when you move, not suitable for all wall types
Cost: €5-12 for a pack

Common Mistakes That'll Cost You Your Deposit
After helping dozens of DeckArts customers with installation advice, I've seen these mistakes repeatedly:
1. Not Testing Weight Capacity
That Command strip rated for "5 pounds" means 5 pounds MAXIMUM. Your 4.5-pound deck plus the weight of the strips themselves? You're over capacity. Always use strips rated significantly higher than your actual weight.
2. Hanging Too Soon After Cleaning or Painting
The Wirecutter article is super clear: wait at least 7 days after painting before applying adhesive products. The paint needs to fully cure or the adhesive will pull it right off. I learned this the expensive way in my first apartment.
3. Ignoring Wall Texture
Command strips don't work on textured walls. Period. If your wall feels like stucco or popcorn ceiling material, skip adhesive methods entirely. Use hook-based solutions or picture rails instead.
4. Improper Removal Technique
Never pull adhesive strips straight off the wall. The Wirecutter guide emphasizes: "Pulling straight down or out can cause tearing of the wall's surface." For Command strips, slowly pull the tab straight down (not out) at a 45-degree angle until fully released.
5. Reusing Adhesive Products
You cannot reuse Command strips. They're one-time-use only. If you try to reuse them, they will fail and your deck will crash to the floor at 3 AM. Ask me how I know.
My Personal Setup in Berlin
Currently in my studio, I use a combination of methods depending on the wall and purpose:
- Main display wall: Picture rail system with steel cables (6 decks rotated monthly)
- Workspace area: Acrylic mounts with small screws (2 permanent pieces I never change)
- Entrance hallway: Heavy-duty Command strips (3 decks, seasonal rotation)
- Bedroom: Leaning display on floating shelf (classical art skateboard collection I'm currently curating)
This mixed approach lets me display 11 decks total without feeling cluttered, and I can completely rearrange everything in an afternoon if inspiration strikes. When I eventually move (hopefully not soon - I love this apartment), removal will take maybe two hours total, and wall repairs will cost under €20 in spackle and touch-up paint.
The Bottom Line: Match Method to Your Situation
If you're renting short-term (under 1 year): Use Command strips or lean-against-wall method
If you're renting long-term (2+ years): Install picture rails or use quality wall mounts
If you own your place: Do whatever you want, but consider future flexibility
If you have exposed brick: Use brick clips, easiest method ever
If your landlord is super strict: Picture rails or tension rods only
The worst thing you can do is rush the installation because you're excited to display your new deck. Take time to clean surfaces properly, wait the full bonding period for adhesives, and double-check weight ratings. Your walls (and your security deposit) will thank you.
And honestly? After paying €270 for those three tiny screw holes in Munich, I'll never drill into a rental wall again without explicit written permission from the landlord. These damage-free methods work just as well - sometimes better - and they give you the flexibility to rearrange your collection whenever you want. That's kind of the whole point of collecting skateboard art, you know?
About the Author
Stanislav Arnautov is the founder of DeckArts and a creative director originally from Ukraine, now based in Berlin. With extensive experience in branding, merchandise design, and vector graphics, Stanislav has worked with Ukrainian streetwear brands and organized art events for Red Bull Ukraine. His unique expertise combines classical art knowledge with modern design sensibilities, creating museum-quality skateboard art that bridges Renaissance masterpieces with contemporary culture. Follow him on Instagram, visit his personal website stasarnautov.com, or check out DeckArts on Instagram and explore the curated collection at DeckArts.com.

